Before you begin, please check
- if you configured VirtualBox to use the “Bridged Adapter” for networking,
- if you booted the FreeDOS 1.2net image or the FreeDOS 1.2-msc image with the boot option “”MS Client with TCP/IP protocol”. (1.2net) or “Load FreeDOS with MS Client” (1.2-msc).
To share a FreeDOS directory to other machines in your LAN, first start the server. In FreeDOS type:
net start server
Now command:
NET SHARE sharename=local path
Here is an example:
net share publicfolder=C:\SHARE
This will make the directory C:\SHARE a share called “publicfolder“. Now you may have to wait: It can take a minute until your share is visible to others.
To show all options available with the “net share” command, please type:
net ? share
If you want to stop sharing this directory, type:
net share publicfolder /delete
Another way to share resources is the program NETSHARE, which is distributed for free from Microsoft. It’s a GUI for the NET SHARE command:

The command “net share” shows the shares you have configured at the moment. The shares are stored in C:\NET\SHARES.PWL. If you delete this file, the shares will not be remembered at the next reboot.
Now switch over to your Windows machine and type here:
net view
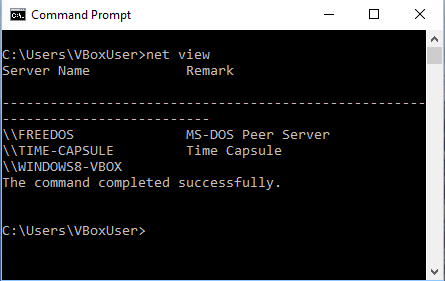
As you can see, your FreeDOS machine is listed as first one in the list of hosts as “\\FREEDOS MS-DOS Peer Server”.
Now we will use its share in Windows. In Windows type:
net use F: \\FREEDOS\PUBLICFOLDER
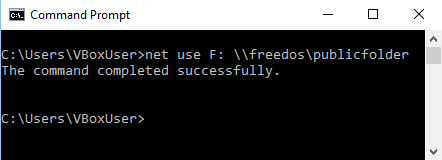
You should get the message: “The command completed successfully”. Then you find your shared FreeDOS folder in Windows Explorer:
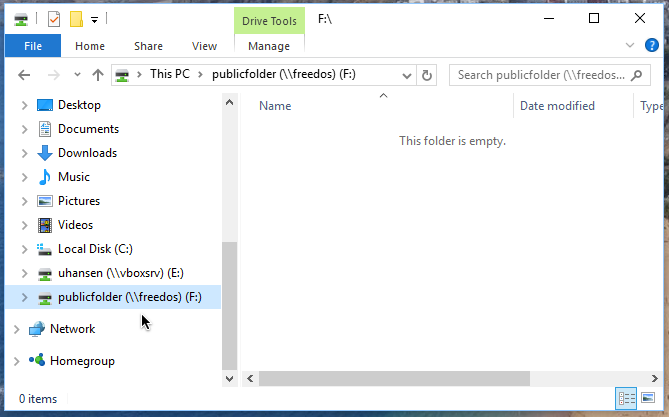
That’s it! You may happily exchange files between your FreeDOS virtual machine and Windows.
You can also use FreeDOS to access shares of Windows. See: Share a Windows directory with FreeDOS